Mule and Miner are still an experiment: something new in the world of CPAP data visualization, with a lot of potential, but still in its early phases. Like any experiment, it can run into the occasional bug that needs a quick hand from you to keep things running.
Most of the time you will not have to do anything. When an update is ready, your device is notified and applies it automatically in the background, no action needed. This guide is for the rare case where that automatic update cannot finish and the device asks you to update it manually over a USB cable. Hopefully this is the exception, not the rule.
The good news: it is quick, there is no software to install, and you cannot break anything. Nothing is written to your device until you confirm.
What you'll need
- A computer (Windows, Mac, or Linux). This will not work on a phone or tablet.
- Google Chrome or Microsoft Edge. Safari and Firefox cannot do this, so please use one of those two browsers.
- The USB-C cable that came with your device (it is a proper data cable). If you use a different one, make sure it can transfer data, not just charge.
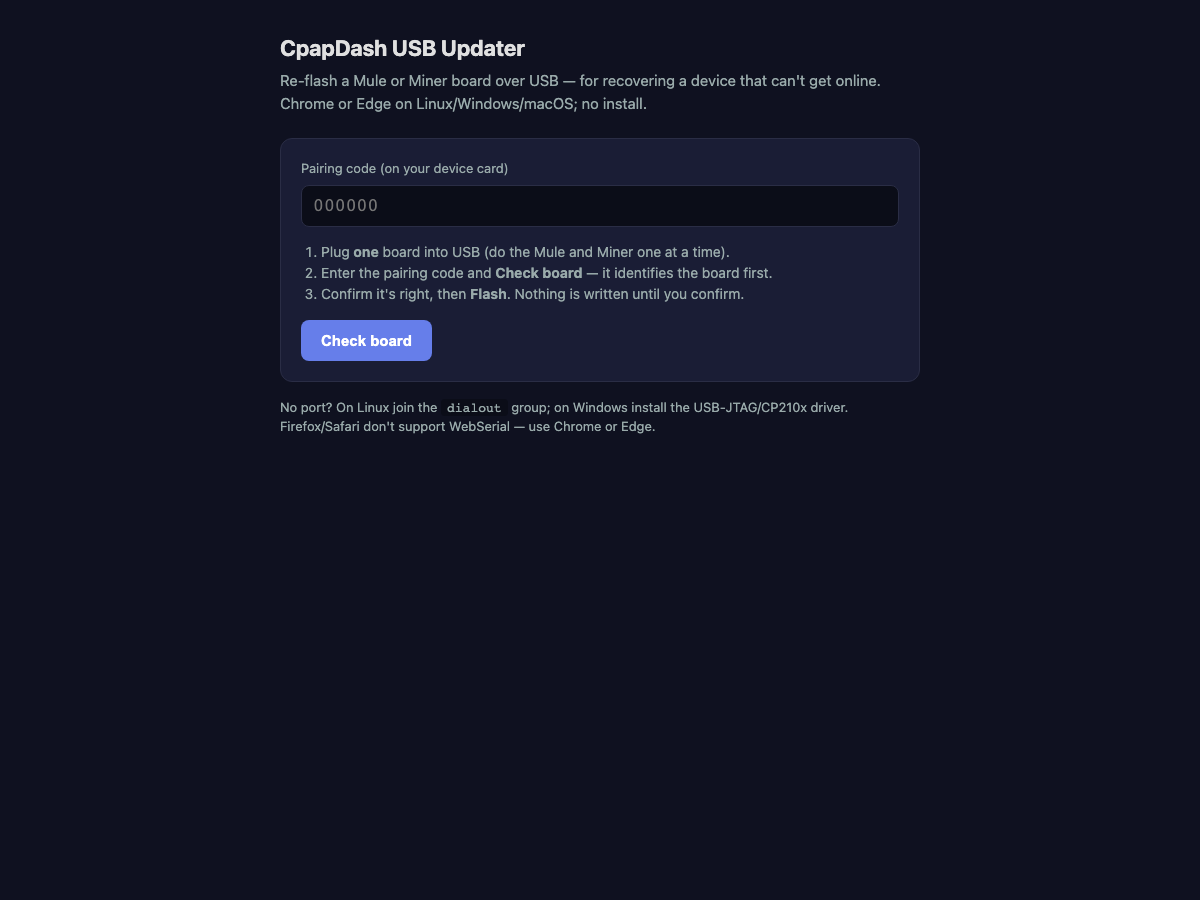
- Your pairing code: the 6-digit code printed on your device card. It is the same code from your original setup, and it is included in the update notification email.
Good to know before you start
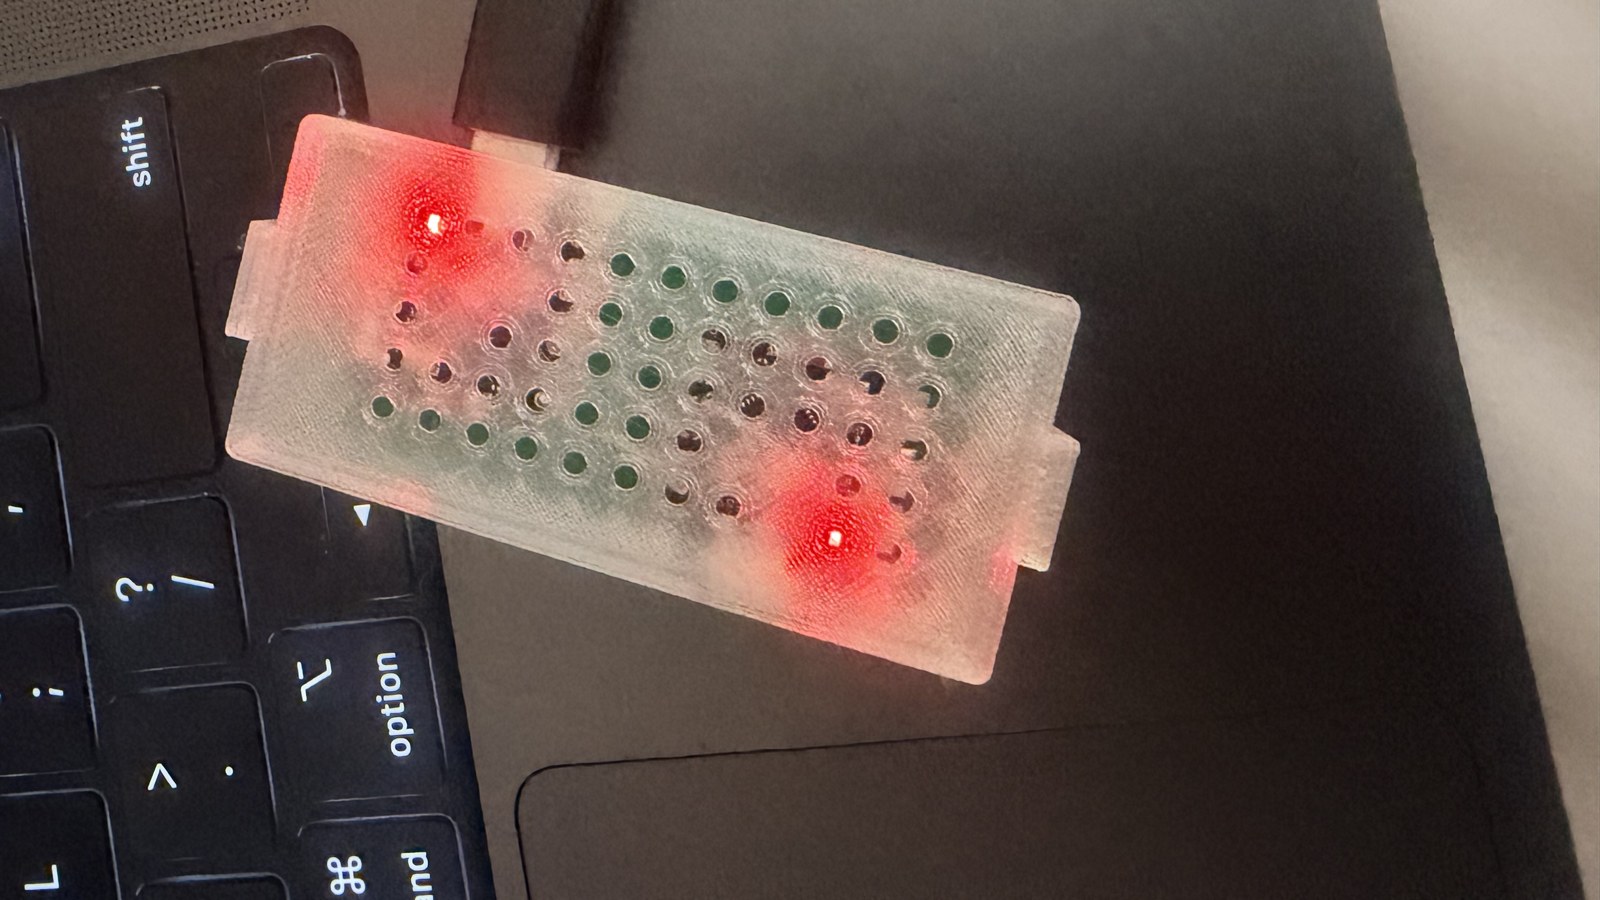
Your device has two USB-C ports, one for each main part: the Mule and the Miner. You will update both, one at a time, using the same steps for each. The whole thing usually takes two or three minutes.
Step by step
1. On your computer, open Chrome or Edge and go to fw.cpapdash.com/flash.
2. Plug your USB-C cable into one of the two ports on your device, and the other end into your computer.
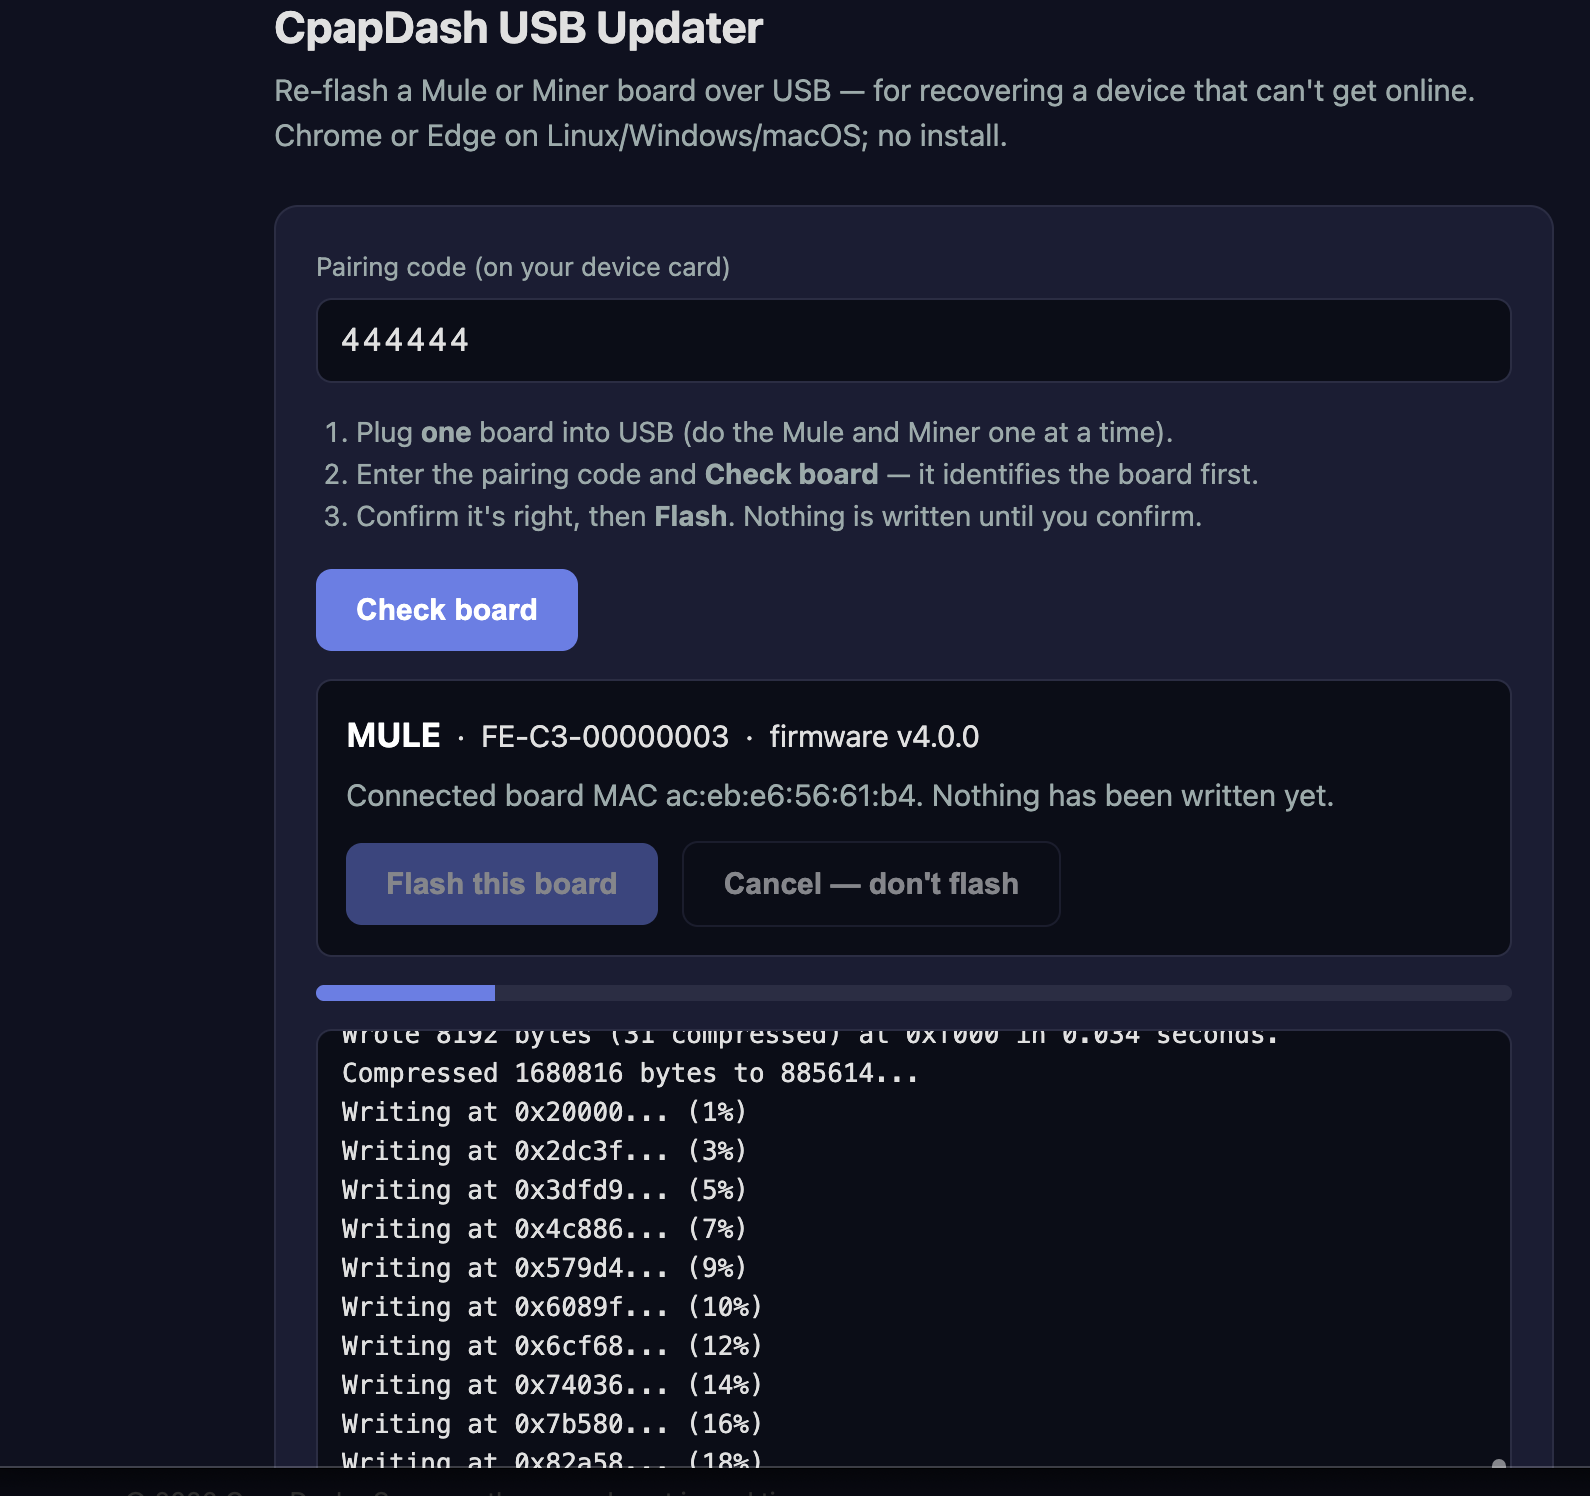
3. Type your pairing code into the box and click Check board.
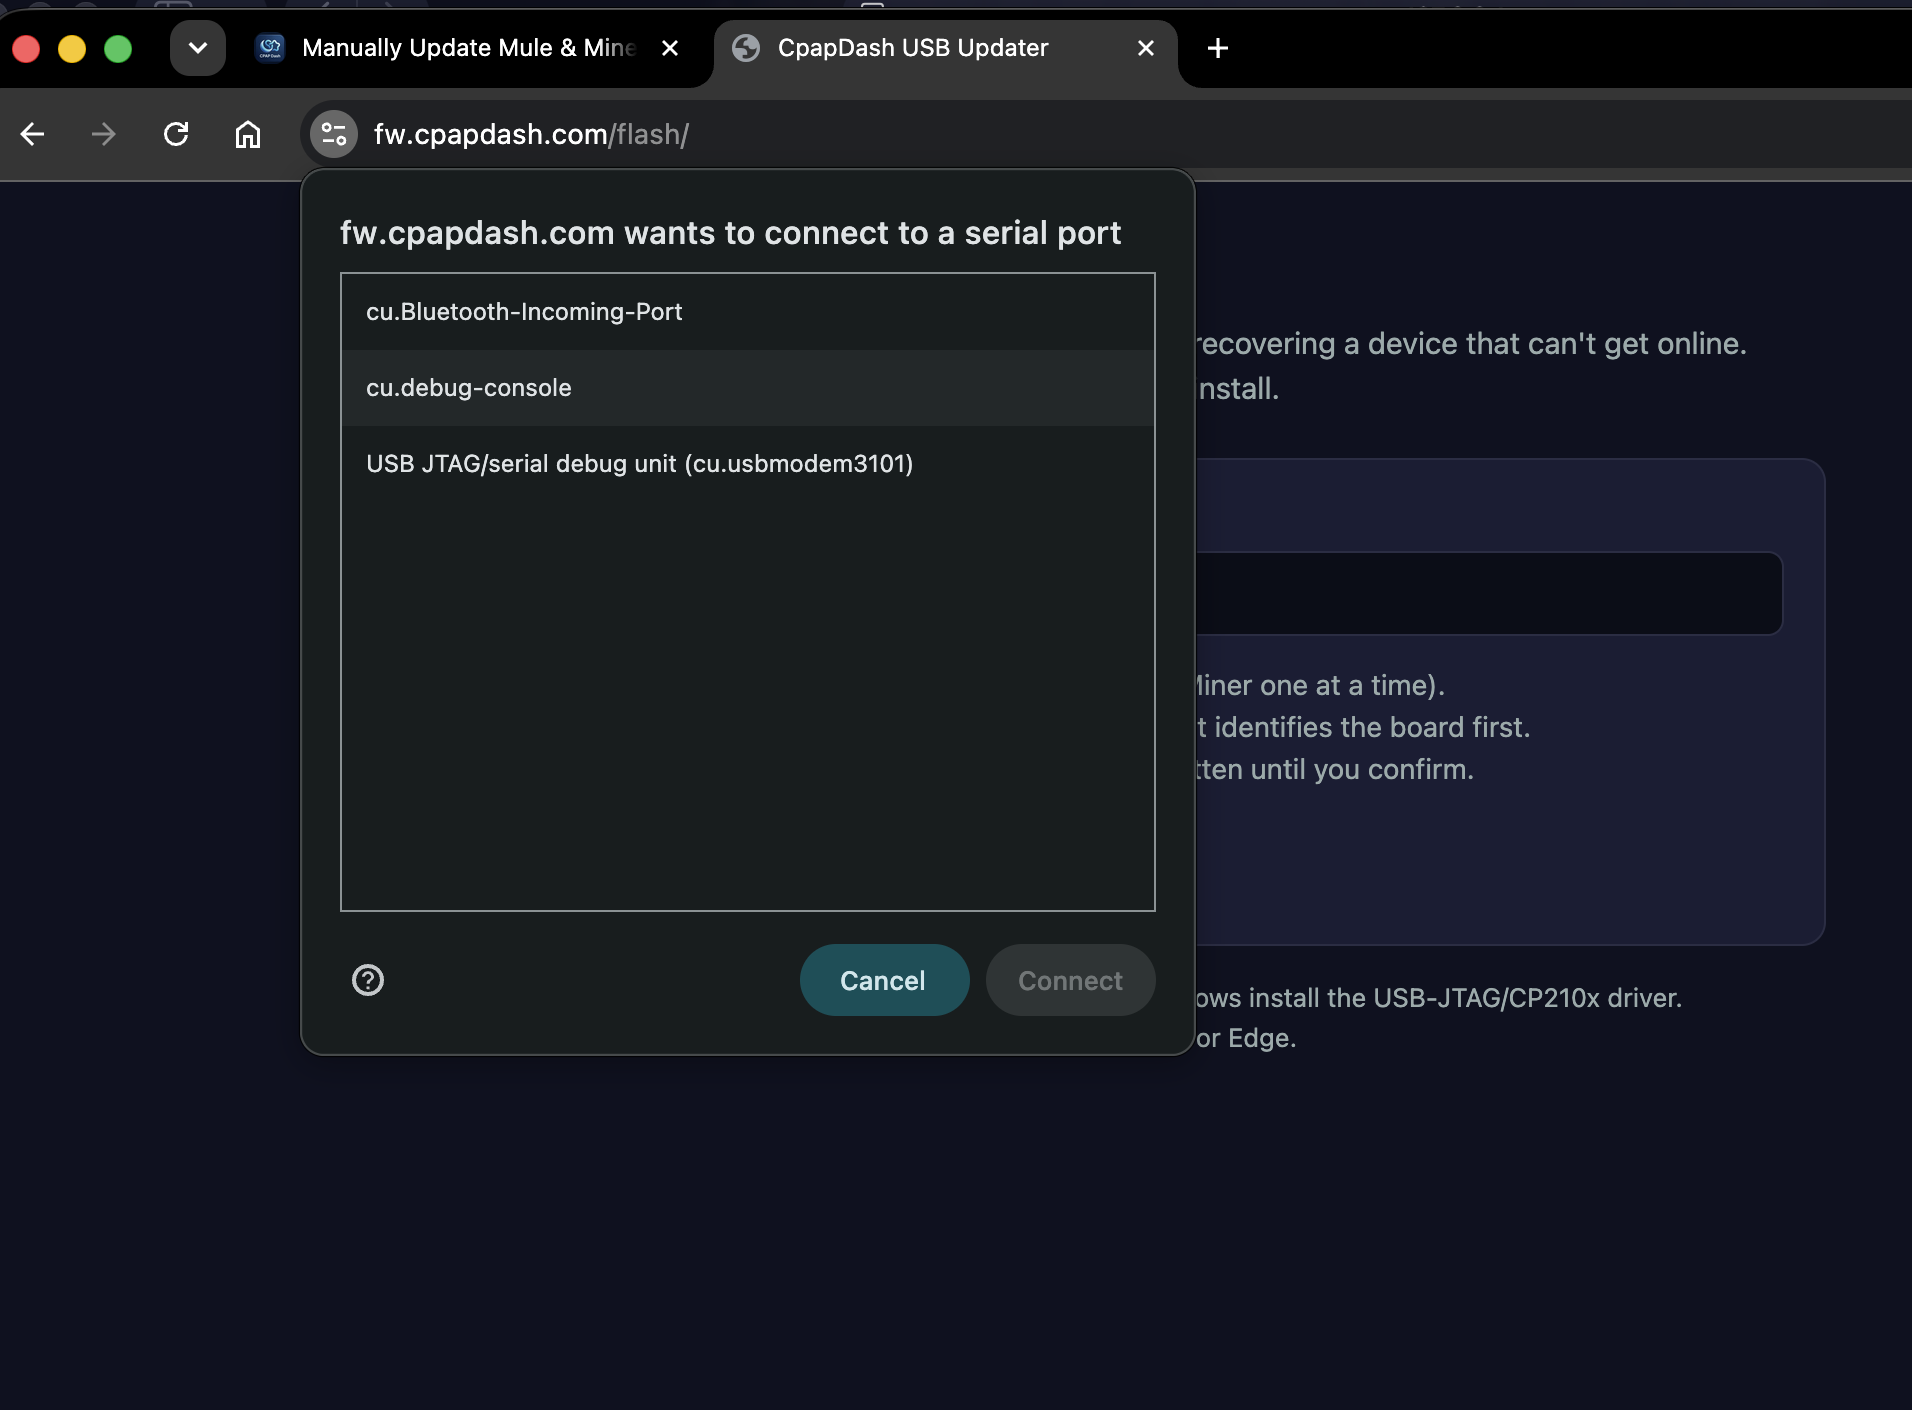
4. A small browser window pops up asking which USB device to connect to. Choose the one that looks like "USB JTAG/serial debug unit" (that is your device), then click Connect.
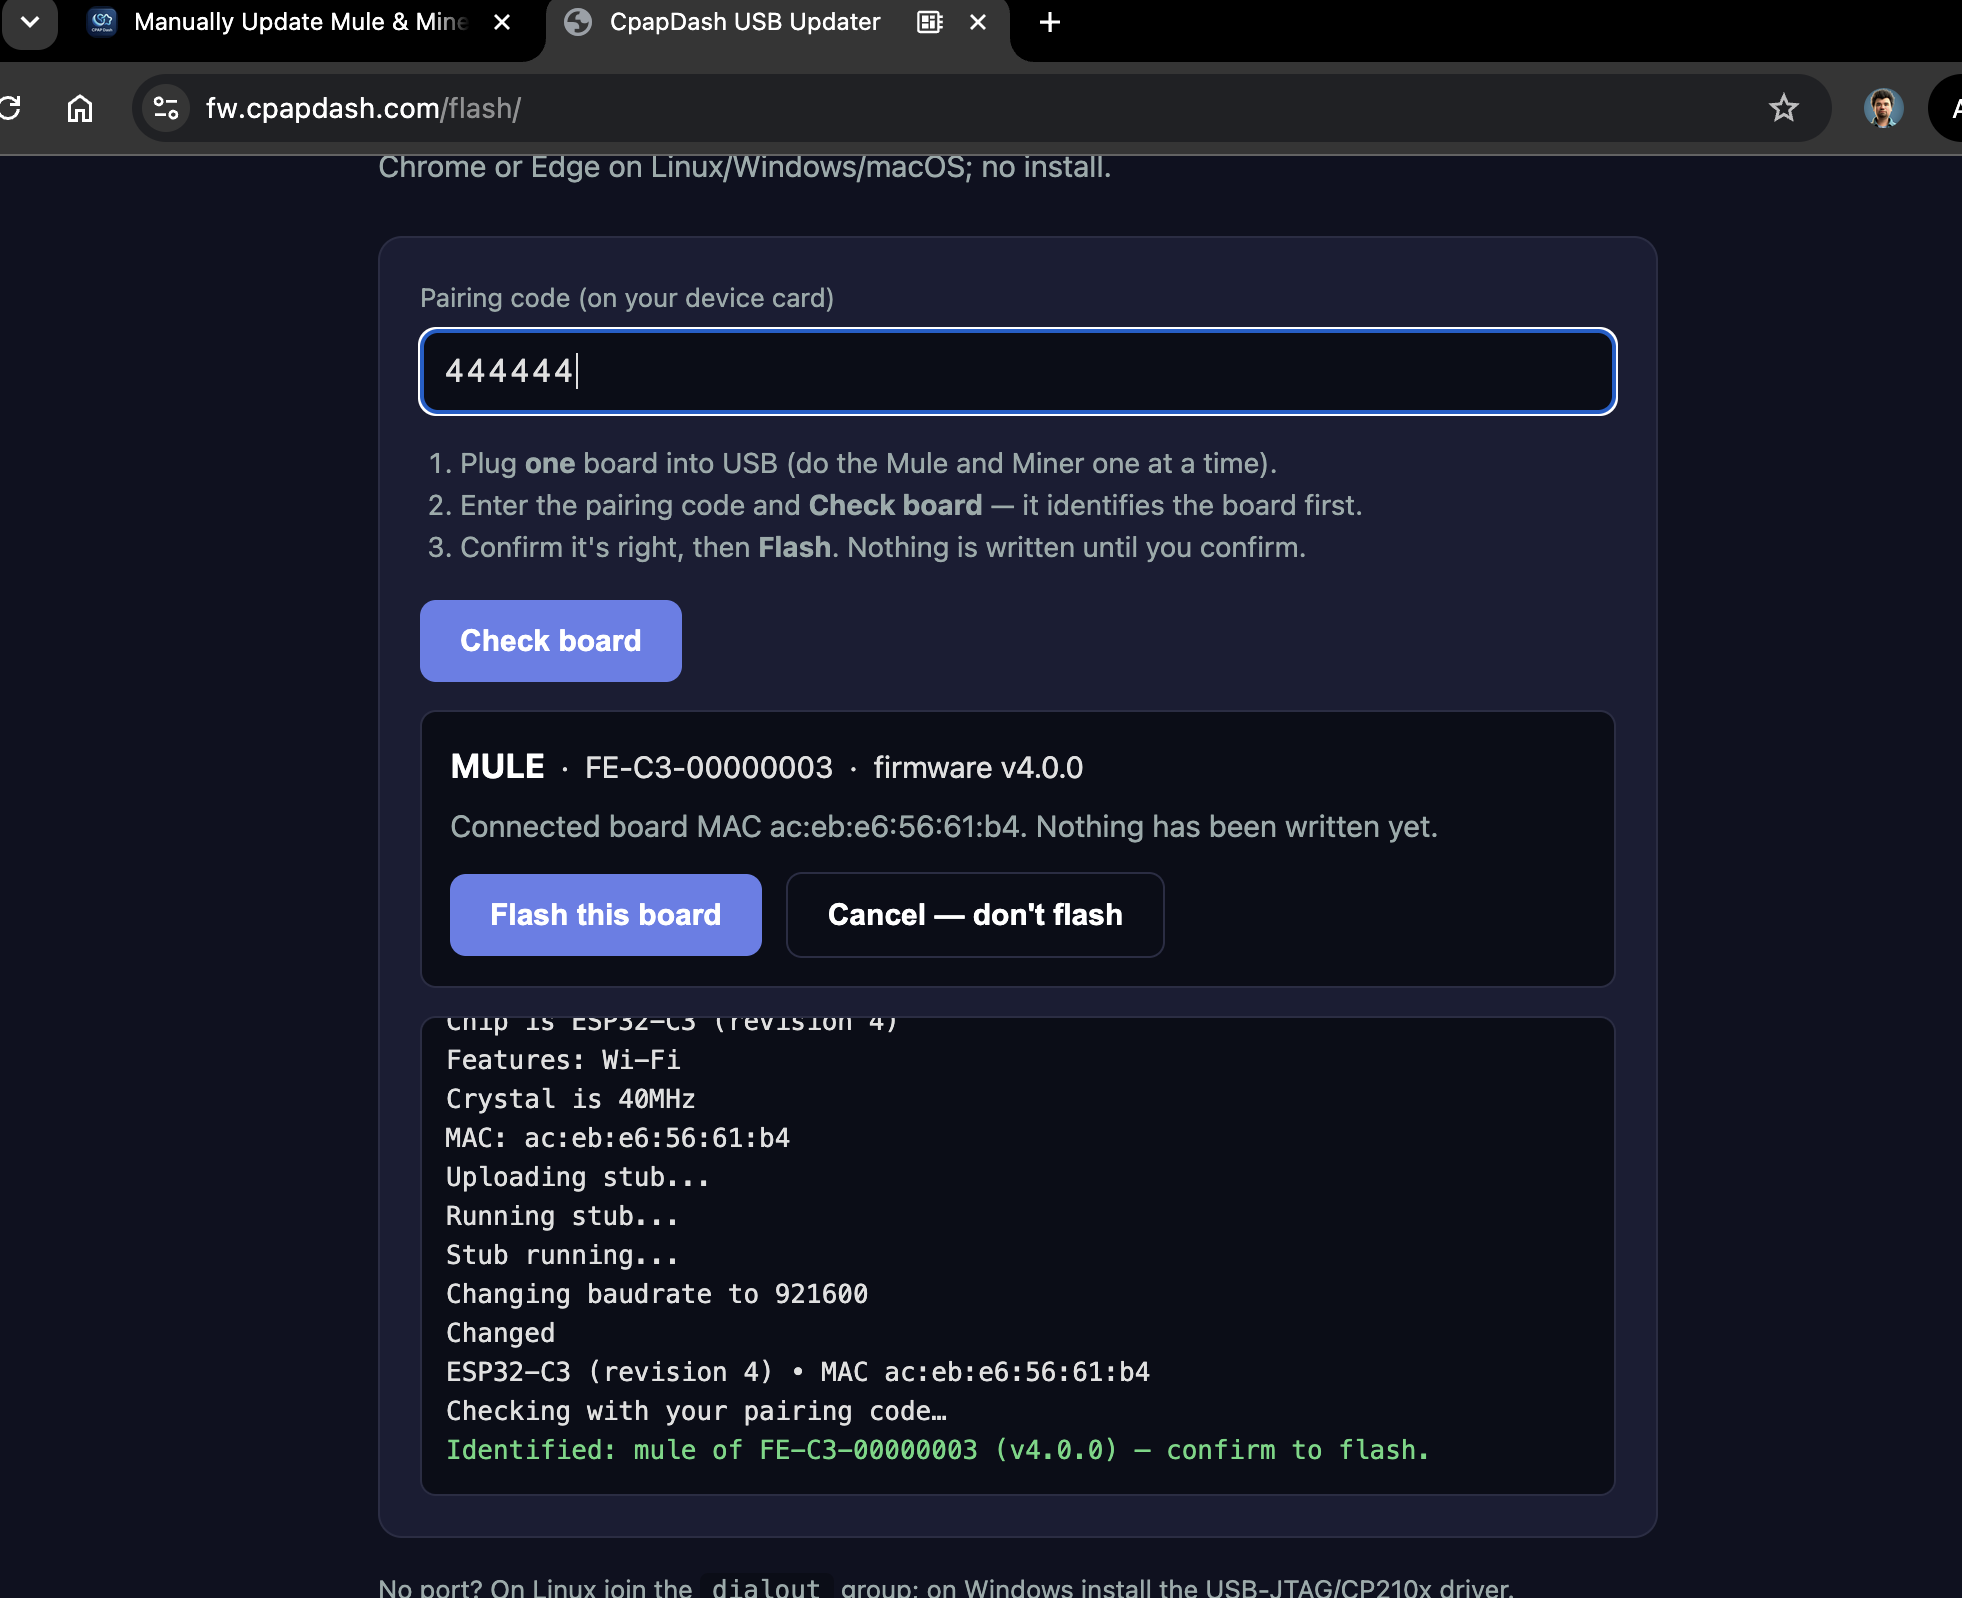
5. The updater connects and identifies the board for you, showing which one it found (for example, MULE · firmware v4.0.0) along with the reassurance "Nothing has been written yet." Confirm it looks right, then click Flash this board. If anything looks off, click Cancel instead. Nothing on the device changes until you flash.
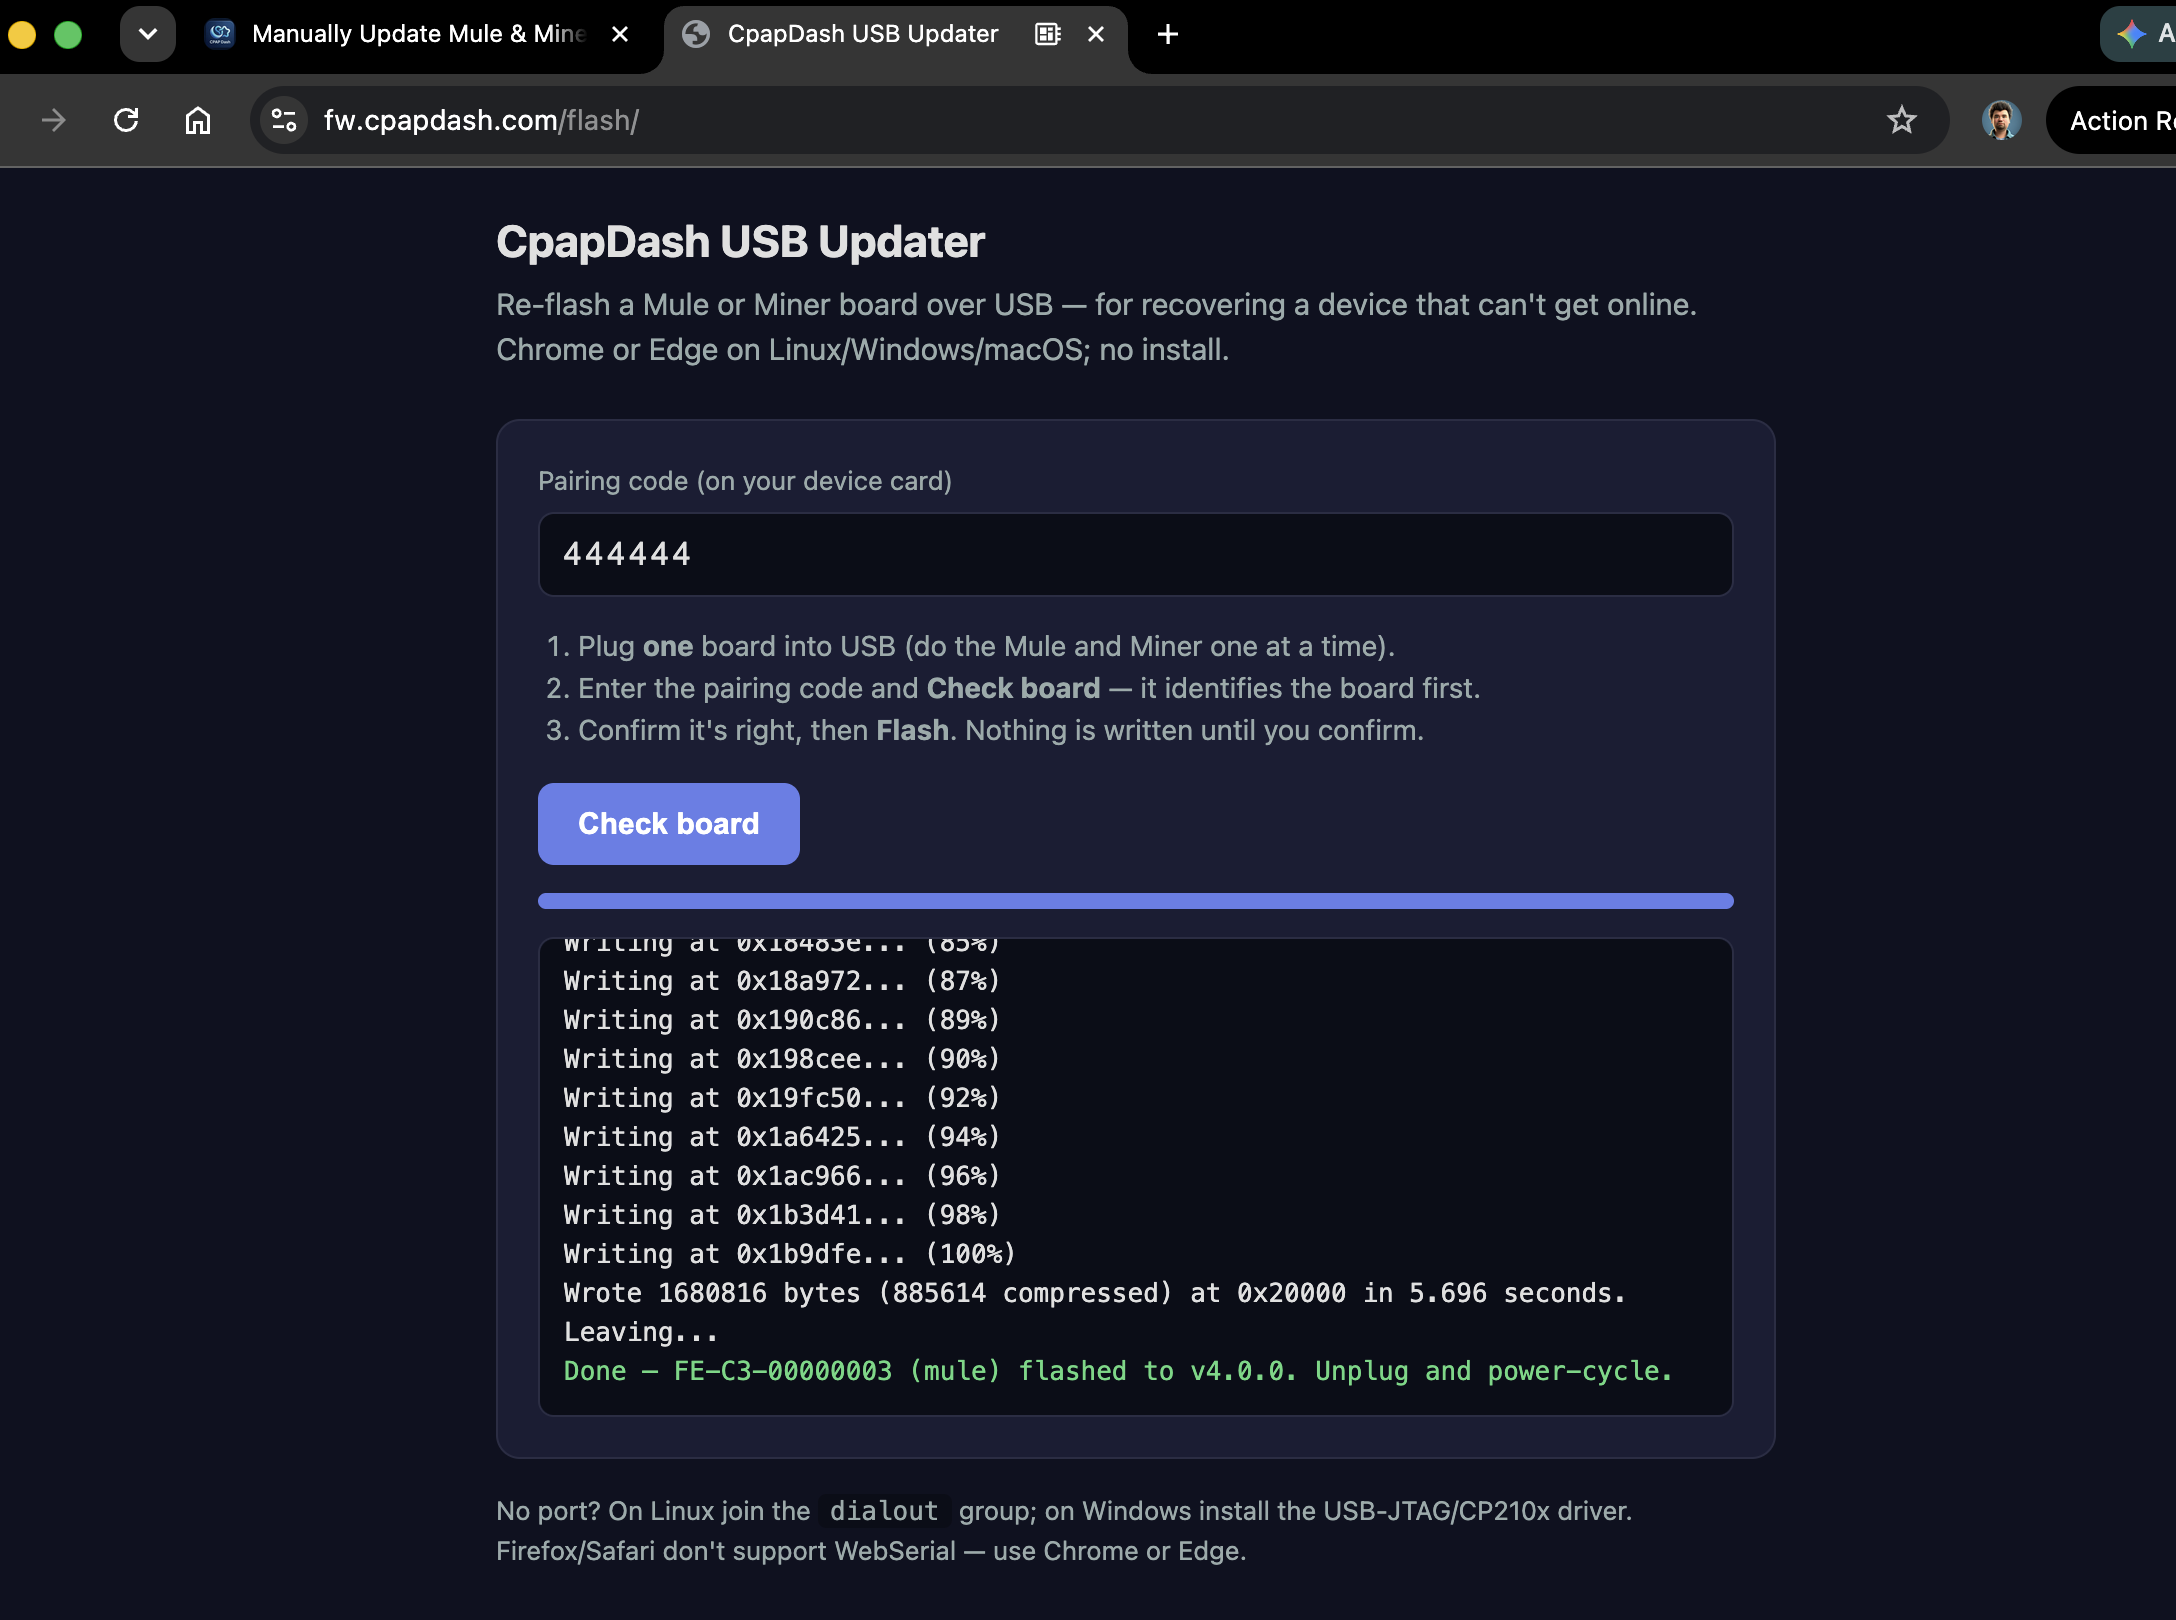
6. A progress bar runs and the console fills in as it writes (the whole flash usually takes well under a minute). Do not unplug the cable or close the tab until it finishes.
7. When it is done, the page shows the new version number and confirms the board was flashed and is ready to unplug. That board is updated.
8. Unplug the cable from that port, plug it into the other USB-C port on your device, and repeat steps 3 through 7 for the second board.
9. Once both boards are updated, power-cycle the device: unplug it completely, wait a few seconds, and plug it back in.
That's it. You have successfully updated your device manually, and it is ready to send your data again.
Troubleshooting
The device does not show up in the pop-up window.
- Double-check you are using Chrome or Edge (not Safari or Firefox).
- Try the other USB-C port, or a different data cable.
- On Windows, you may need the USB-JTAG / CP210x driver installed.
- On Linux, make sure your user is in the
dialoutgroup.
The update stopped partway or showed an error.
- No harm done. Unplug the cable, plug it back in, and click Check board to try again.
Need help?
For any questions or suggestions, please open a support ticket at cpapdash.com/support.