
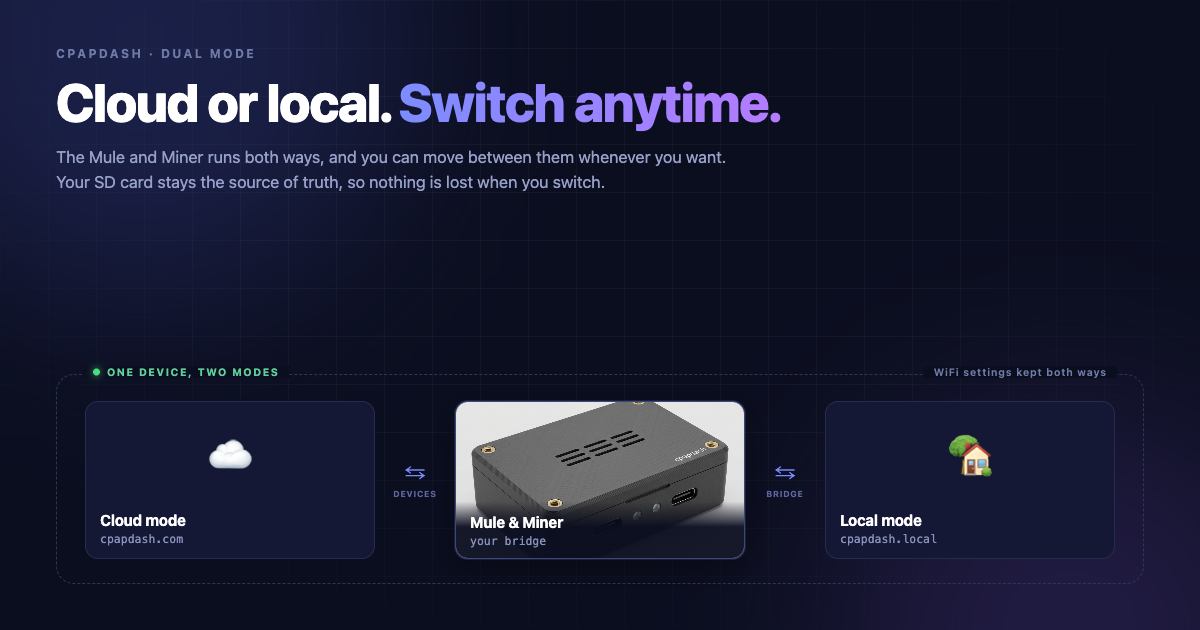
The Mule and Miner works in two modes, and that is the real differentiator for this device. It can be a very convenient thing that just plugs in and sends all your information into the cloud and onto your phone, the height of convenience. Or it can be a fully local device where the information never leaves your home. That is all in your hands, right now.
You pick a mode when you set the device up. Normally that would be a permanent decision, or at least one that needs a reset on the device before you can set it up differently. Not with the Mule and Miner. You can move between them whenever you want, as often as you want, and the switch takes about a minute in each direction.
Here is what each one does, and how to go back and forth.
Cloud mode: plug it in, claim it, done
In cloud mode the Mule and Miner talks to your private profile on CpapDash.com. It checks in with your profile, reads the data off the ezShare card in your machine, and sends it straight up to your account.
This is really powerful in a couple of ways. If you are a ResMed user, ResMed machines write to the SD card as the night happens, minute by minute, rather than dumping everything in the morning. The Mule and Miner reads the file your machine is actively writing and sends it up as it grows. So you open the CpapDash app and watch your night fill in close to real time, while you are still in it.
Setting up is as easy as it gets. Connect the Mule and Miner, select cloud mode, claim your device in the app. That is the whole job. There is nothing to install and nothing running on a PC at home. I laid the onboarding out step by step in So you bought the Mule & Miner. What now?.
Local mode: your card becomes a website on your own network
Local mode is the one I sometimes call proxy mode, and the two names mean the same thing.
In this mode the Mule and Miner stands in for the ezShare card on your home network. What appears on your LAN is the card itself, with every file your machine has written to it. Nothing goes out of the house. No account, no cloud, no login.
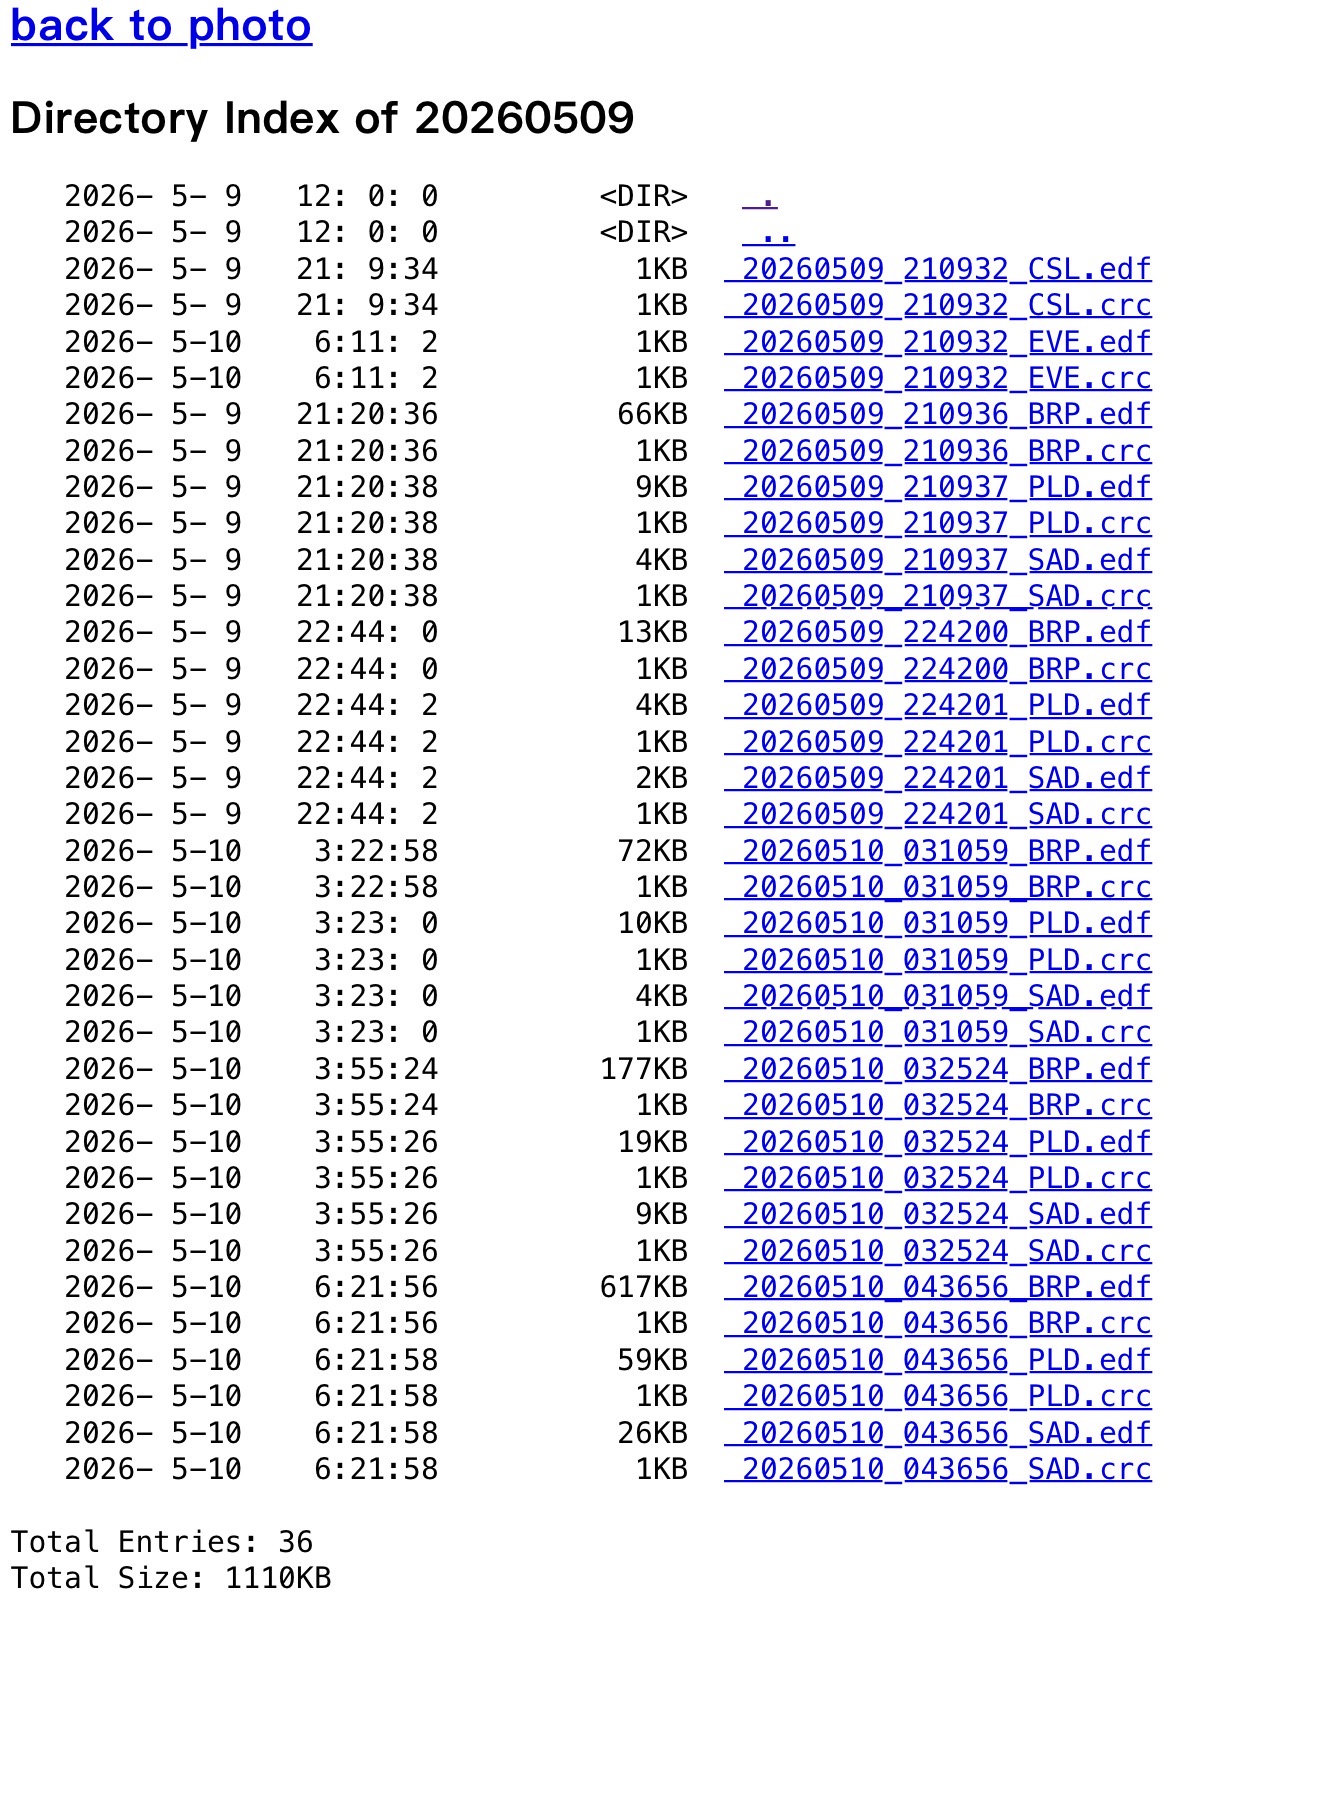
That opens up a lot. Any script or application on your network can pull those files down and hand them to whatever you like. One of them is dropping the raw files into the folder OSCAR watches, so OSCAR always has last night ready when you open it.
My own path was a different one. I wanted my therapy in Home Assistant, so I downloaded the files, parsed them locally, and pushed the numbers into my home lab. Over time I added trends and charts and a web UI, all of it running on my own network. That application is HMS-CPAP, it is open source, it is free, and you can grab it from my org at hms-homelab/hms-cpap.
It started as a Linux server because that is where my home lab lives, and Windows and macOS builds came later. It is a standalone app with a small setup wizard, configured from your browser. You can stay simple and just point it at your bridge, or go as deep as you want: different databases, Home Assistant over MQTT, night summaries from a model running on your own box, machine learning insights trained on your own history. It will also drop the raw files into a plain local folder, so OSCAR and anything else can read the exact same data. And if you use SleepHQ, connect your profile once and HMS-CPAP uploads each night there on its own, so going all local does not cut you off from it.
If the all-local setup is what you are here for, I wrote the long version of it in The automated, local-first way to see your sleep data.
Switching from cloud to local
You do this from the app, because in cloud mode the device is still checking in with the cloud, so the cloud can pass the change down to it.
Open Devices, find your Mule and Miner in the list, and press Switch to Local Mode.
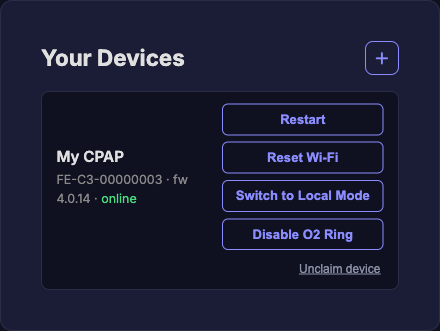
Two things to know before you press it. The device controls stay locked until your Mule and Miner has been online and syncing for a couple of minutes, so if the button looks unavailable, give it a moment and it will unlock on its own. And the switch is queued rather than instant. The device picks it up on its next check-in and then reboots itself into local mode. Your WiFi settings are kept through all of this, so there is nothing to type back in.
Once it is back up, open a browser and go to http://cpapdash.local. That is the Mule and Miner's own page, sitting on your network. The heading tells you where you are, and in this mode it reads ezShare Proxy mode. From there you can browse everything on the card, check the device status, and read the logs.
Switching from local back to cloud
Once the device is local it stops reporting to the cloud, so the cloud has no way to reach it any more. The switch back lives on the device itself.
Go to http://cpapdash.local and look just below the DATALOG browse button. There is a green button that reads Switch to Cloud Mode. Press it, confirm, and the bridge reboots and reconnects to your profile. Your WiFi settings survive this one too, so your nights simply start flowing up again.
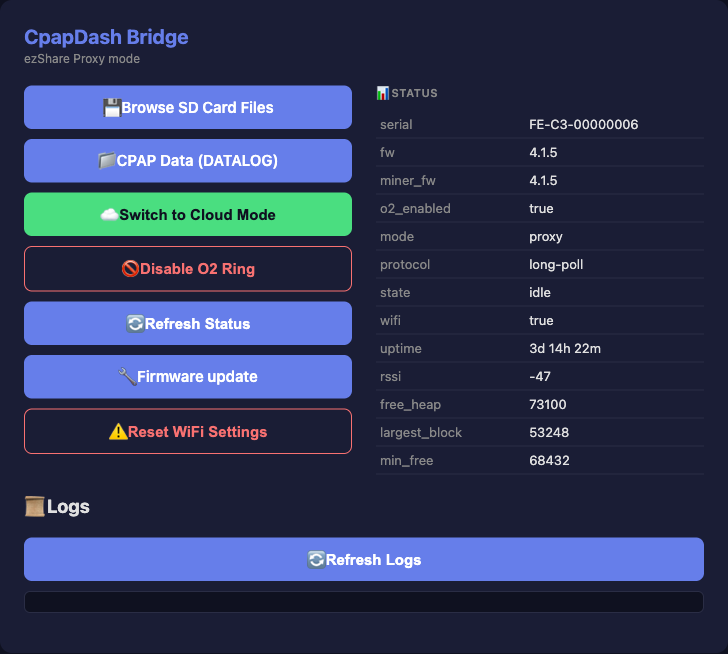
At this point you might be wondering why this thing is so complicated. So many UIs, so many actions. And you would be right. It is a little complicated, and I work day and night to make it easier for you.
So, two heads ups.
If your device is in cloud mode, http://cpapdash.local will not render for you. That address only starts answering once the device is in local mode, and until then the switch lives in Devices in the app.
And when you are in local mode, your device will show as offline on CpapDash.com. It stopped reporting to the cloud, which is exactly what you told it to do.
Nothing gets lost when you switch
The SD card in your machine is the source of truth, and it stays that way in both modes. The Mule and Miner reads that card. It never writes to it, and it cannot write to it.
The only things that put data on that card are your machine and you. Pulling the card and editing it by hand is not something I would recommend, because the layout is written in a specific way for the machine and for the parsers to make sense of it.
Which means moving between modes does not put your history at risk. If you spend a few days in local mode and then switch back to cloud, the cloud picks up from the day it stopped hearing from you and pulls everything through to last night. HMS-CPAP does the same thing on the local side: it compares what is already in its own database against what is on the card, and fills in whatever is missing.
So you can move back and forth as much as you like, and the data catches up on its own either way.
That is dual mode
The Mule and Miner was not designed as a dual mode device at the start. It was one or the other, and you picked. Enough people told me they wanted their data local, or wanted to try the cloud and then take it back home again, that being able to move between them became the obvious thing to build. It is here now, and it is yours to flip whenever you feel like it.